Installing WordPress on Different Hosting Panels
WordPress can be installed on various hosting environments. Below are step-by-step guides for different hosting panels.
Installing WordPress via cPanel (Softaculous Method)
Log in to cPanel
Access cPanel: Navigate to yourdomain.com/cpanel and enter your login credentials.
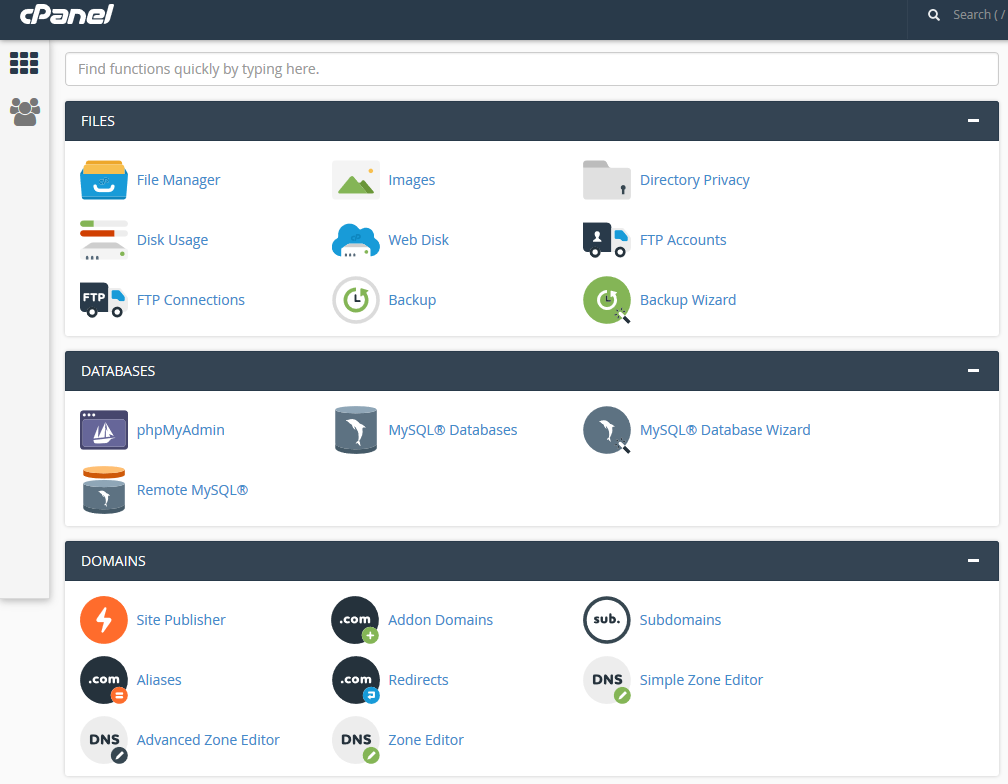
Locate the Softaculous Apps Installer
Find Softaculous: In the cPanel dashboard, scroll down to the “Software” section and click on “Softaculous Apps Installer.”
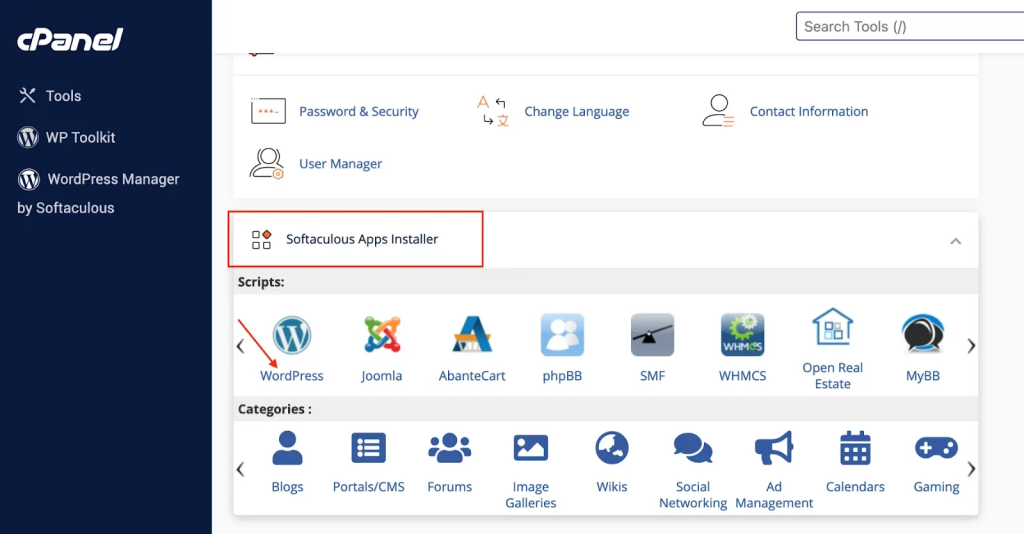
Select WordPress for Installation
Choose WordPress: Within Softaculous, click on the WordPress icon to initiate the installation process.

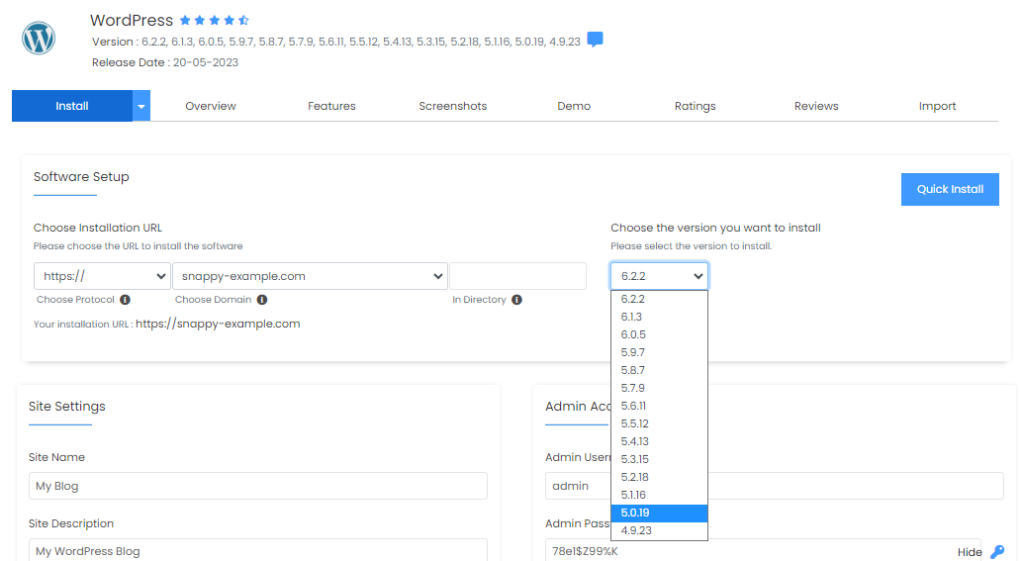
Configure Installation Settings
Software Setup:
Choose Installation URL: Select the desired domain and specify the directory (leave blank to install in the root directory).
Choose Version: Ensure the latest version of WordPress is selected.
Site Settings:
Site Name: Enter your website’s name.
Site Description: Provide a brief description of your site.
Admin Account:
Admin Username: Create a username for the WordPress admin account.
Admin Password: Set a strong password.
Admin Email: Enter a valid email address for administrative purposes.
Advanced Options (Optional)
Database Settings: Modify the database name or table prefix if necessary.
Auto Upgrade: Enable automatic updates for WordPress, themes, and plugins to maintain security.
Select a Theme (Optional)
Choose Theme: You can select a theme during installation or opt to install one later.
Install WordPress
Finalize Installation: After reviewing all settings, click the “Install” button.
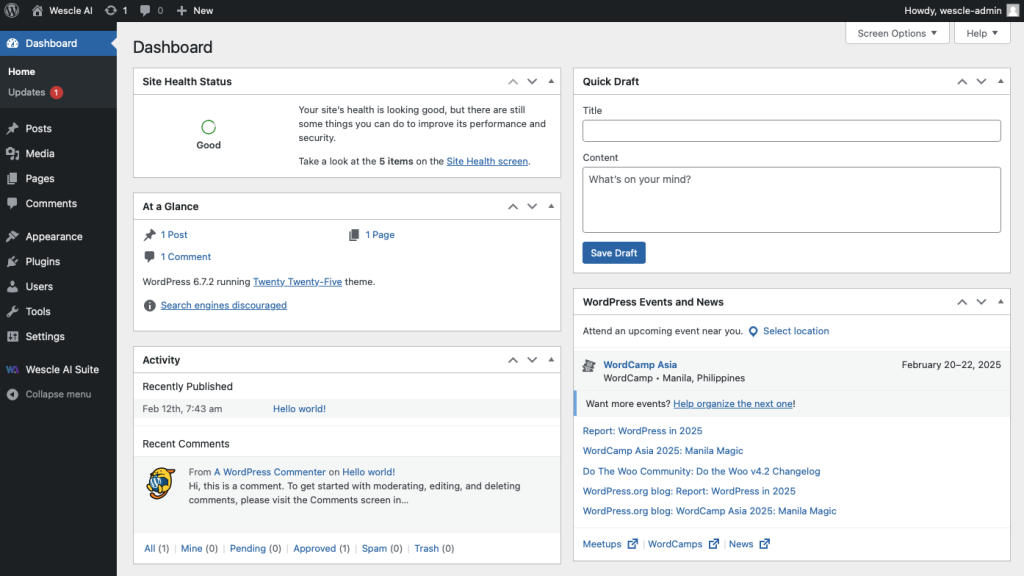
Access the WordPress Dashboard
Login URL: Once the installation is complete, access your WordPress admin dashboard at yourdomain.com/wp-admin using the admin credentials you set earlier.

Source: https://www.softaculous.com/docs/enduser/install-wordpress-using-softaculous/
Installing WordPress via Plesk Panel
Log in to Plesk
Access Plesk: Navigate to yourdomain.com:8443 and enter your login credentials.
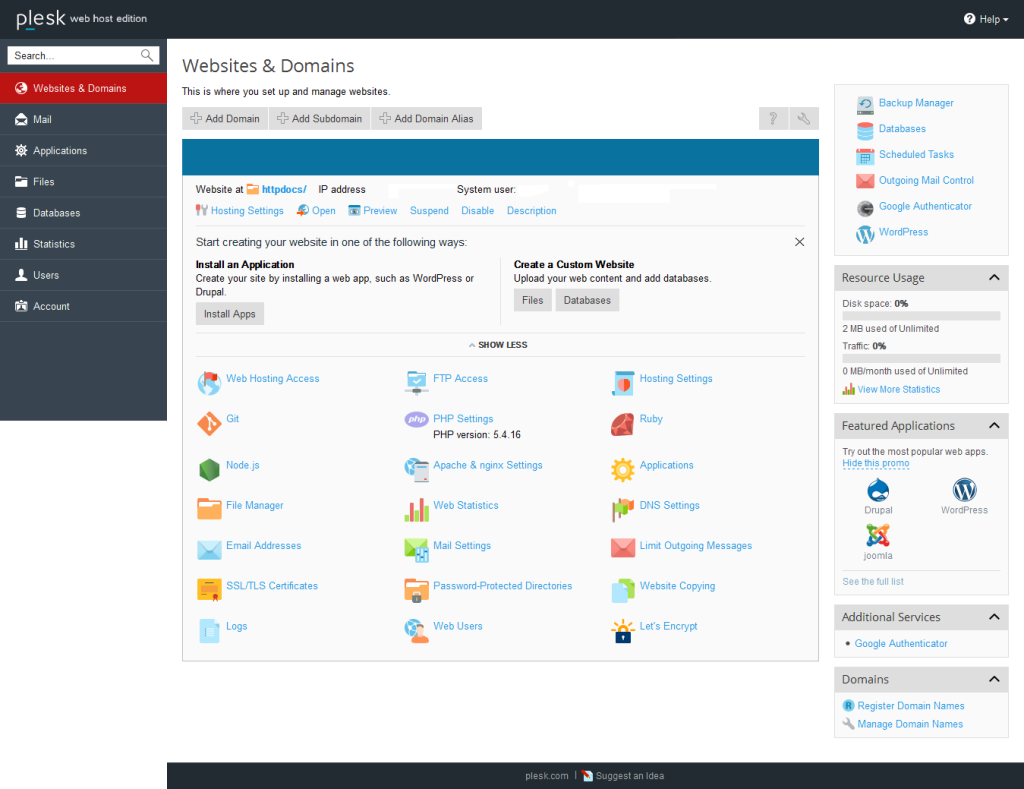
Install WordPress
Navigate to WordPress Toolkit: In the Plesk dashboard, click on “WordPress” in the left-hand panel.
Initiate Installation: Click the “Install” button to begin the setup process.
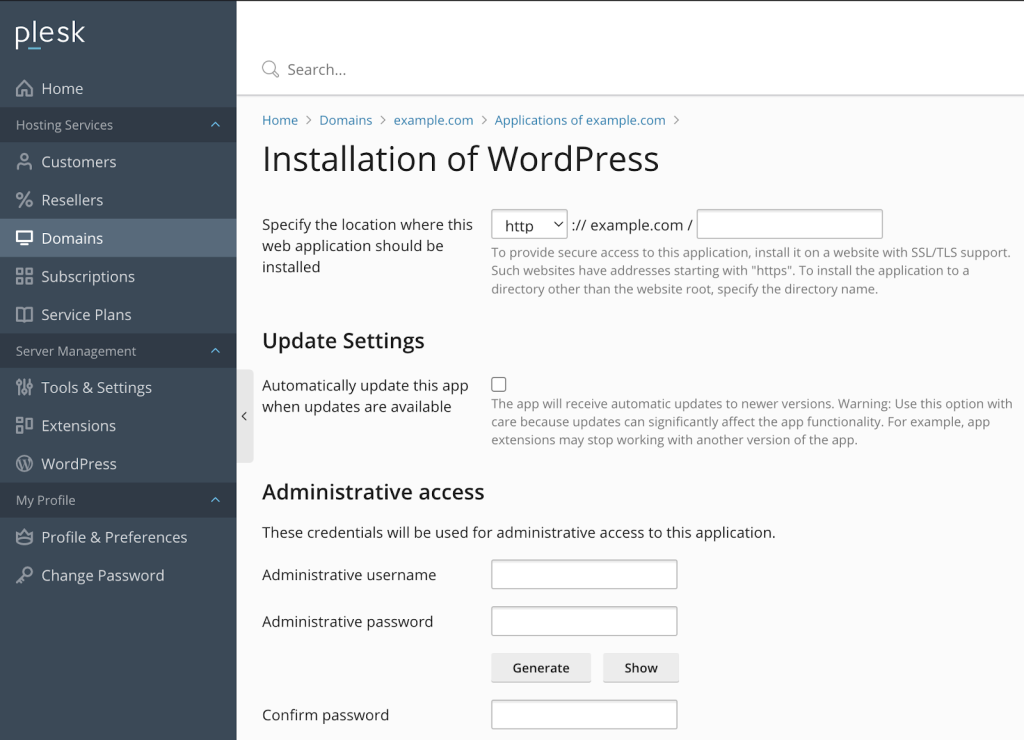
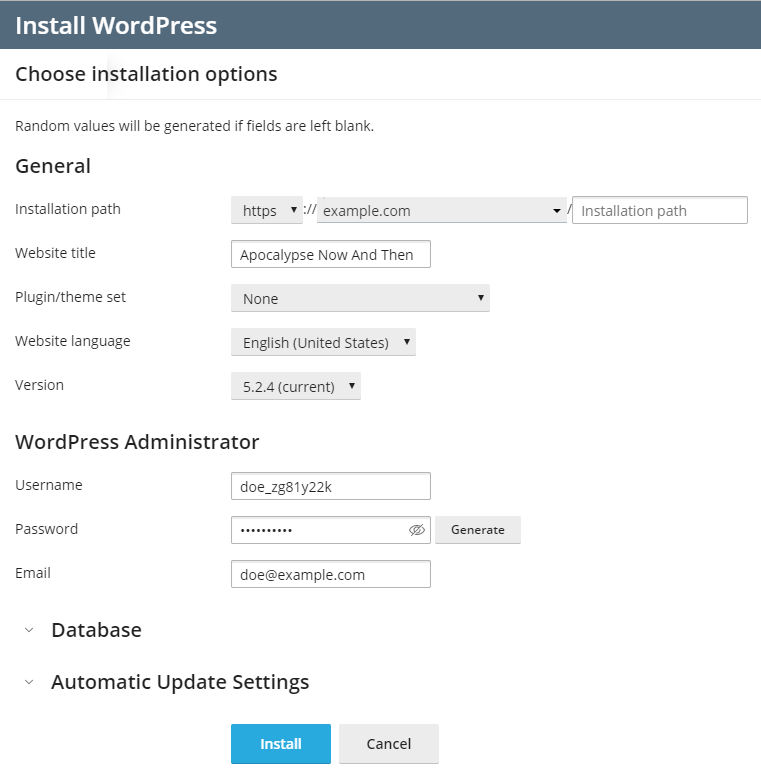
Configure Installation Settings
Installation Path: Specify the directory where you want WordPress installed. To install in the root directory, leave this field blank.
Site Settings: Enter your desired “Website Title” and select the preferred “Website Language.”
Administrator Account: Set up the admin username, password, and email address for your WordPress site.
Database and Update Settings
Database Configuration: Plesk will auto-generate database settings. You can modify the database name, table prefix, username, and password if needed.
Automatic Updates: Choose your preferred update settings for WordPress core, plugins, and themes.
Complete the Installation
Finalize Installation: After reviewing all settings, click the “Install” button.
Access Your WordPress Dashboard
Login: Once the installation is complete, access your WordPress admin dashboard by navigating to yourdomain.com/wp-admin and logging in with the admin credentials you set earlier.
Source: https://docs.plesk.com/en-US/obsidian/administrator-guide/website-management/wp-toolkit.73391/
Installing WordPress via DirectAdmin
Log in to DirectAdmin
Access DirectAdmin by navigating to yourdomain.com:2222 and enter your login credentials.
Install WordPress
Navigate to the “Extra Features” section and select Installatron Applications Installer or Softaculous (if available).
Locate WordPress in the application list and click “Install”.
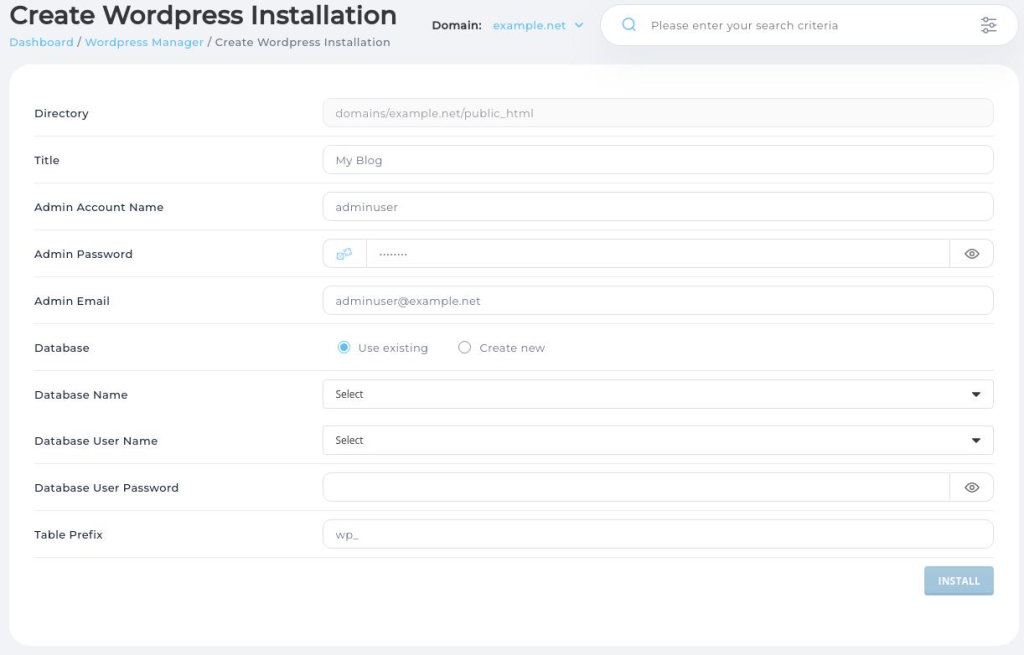
Configure Installation Settings
Installation Path: Choose the domain where you want WordPress installed. To install it in the root directory, leave the directory field blank.
Site Settings: Enter your Website Title and select the preferred Website Language.
Administrator Account: Set up your Admin Username, Password, and Email Address.
Database and Update Settings
DirectAdmin will automatically create a database, but you can modify settings if needed.
Configure the Database Name, Table Prefix, Username, and Password manually if preferred.
Choose whether to enable Automatic Updates for WordPress core, plugins, and themes.
Complete the Installation
Click “Install” to start the process.
Wait for the installation to complete.
Once finished, a confirmation message will display your WordPress Admin URL.
Access Your WordPress Dashboard
Navigate to yourdomain.com/wp-admin.
Log in using the admin username and password set during installation.
Begin customizing your site, installing themes, and adding plugins as needed.

Source: https://docs.directadmin.com/other-hosting-services/dns/general.html
Installing WordPress Manually via FTP
Manually installing WordPress via FTP is useful when your hosting panel does not provide a one-click installer. This guide will work for cPanel, Plesk, DirectAdmin, and other hosting control panels. Follow the steps below to complete the installation.
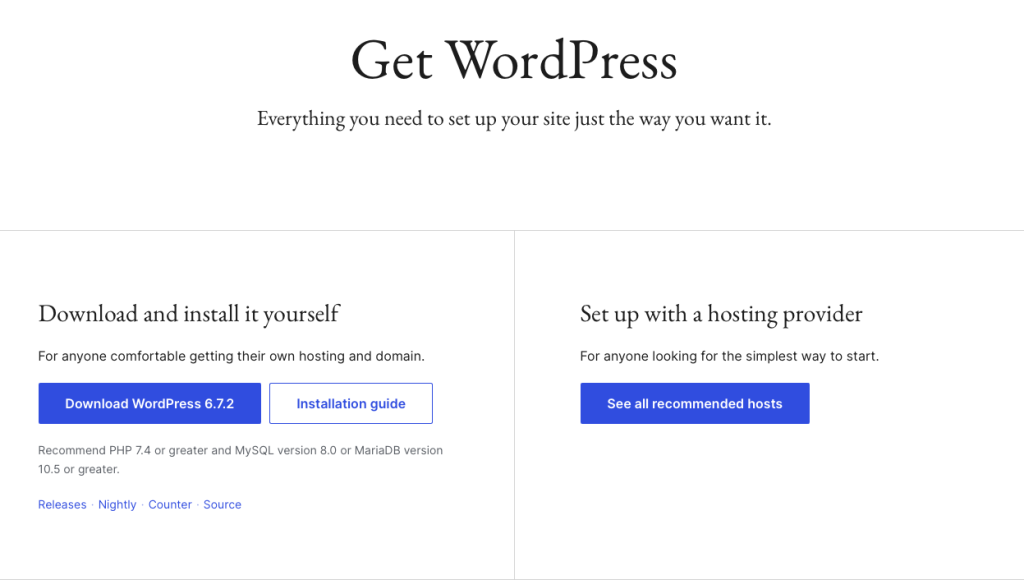
Download WordPress
Visit the official WordPress.org website.
Download the latest version of WordPress.
Extract the ZIP file on your local computer.
Upload WordPress Files to Your Server via FTP
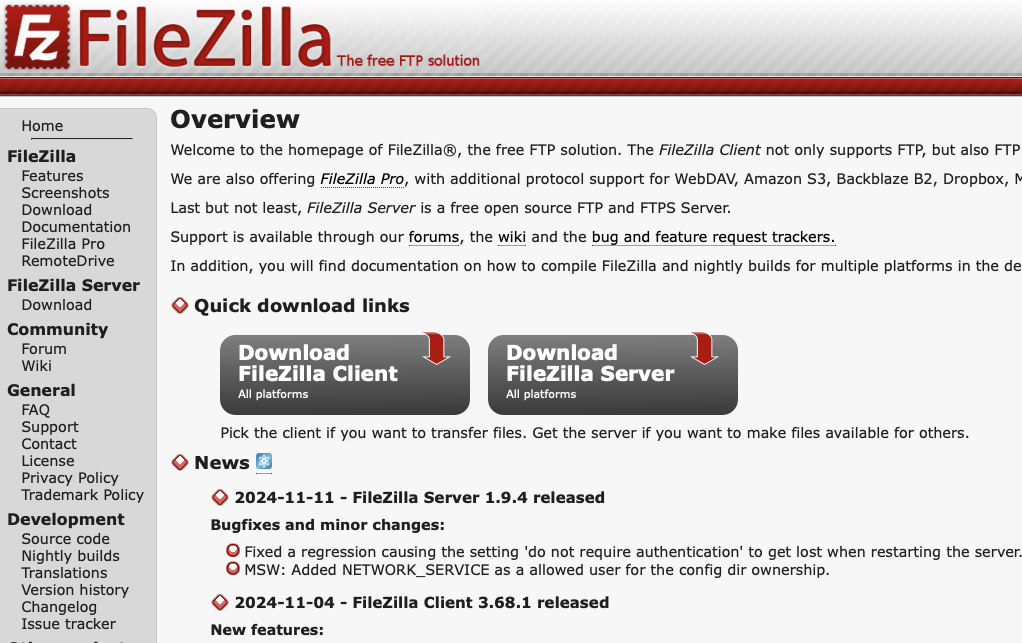
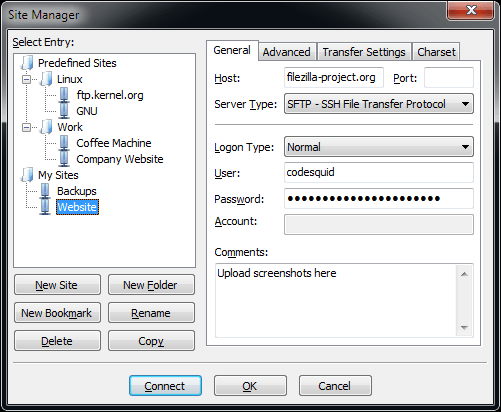
Install an FTP Client: Download and install FileZilla or any FTP client.
Connect to Your Hosting Server:
Open FileZilla.
Enter your FTP credentials (Host, Username, Password, and Port).
Click Quickconnect.
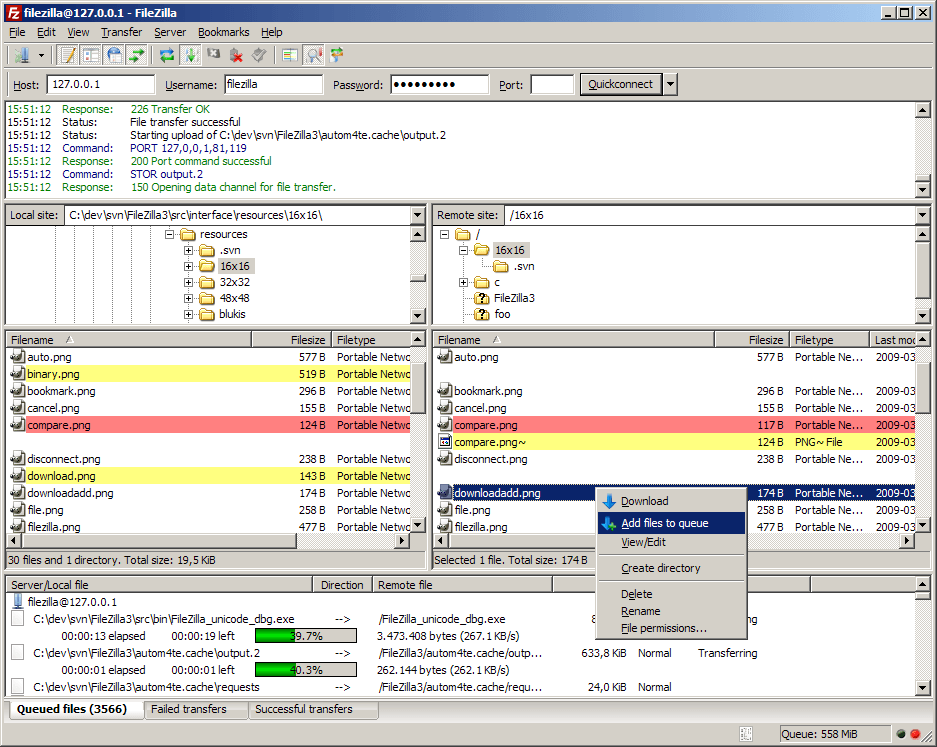
Upload WordPress Files:
Navigate to the public_html (root directory) or a subdirectory if you want WordPress installed in a folder (e.g., yourdomain.com/blog).
Upload all extracted WordPress files.
Download FileZilla: https://filezilla-project.org/
Create a MySQL Database and User
Depending on your hosting panel, follow the appropriate steps cPanel, Plesk, DirectAdmin, and other hosting control panels:
Log in to Panel: yourdomain.com/panel-url
Navigate to MySQL Databases:
Click “MySQL® Databases”.
Under “Create a New Database”, enter a name (e.g., wp_database).
Click “Create Database”.
Create a Database User:
Scroll to MySQL Users → Add New User.
Enter a username and password.
Click “Create User”.
Assign User to Database:
Scroll to “Add User to Database”.
Select the database and user.
Click “Add”, then grant All Privileges.
Refer to the screenshots above for guidance specific to your hosting panel.
Run the WordPress Installation Wizard
Visit Your Domain:
Open your browser and go to yourdomain.com.
The WordPress setup wizard should start automatically.
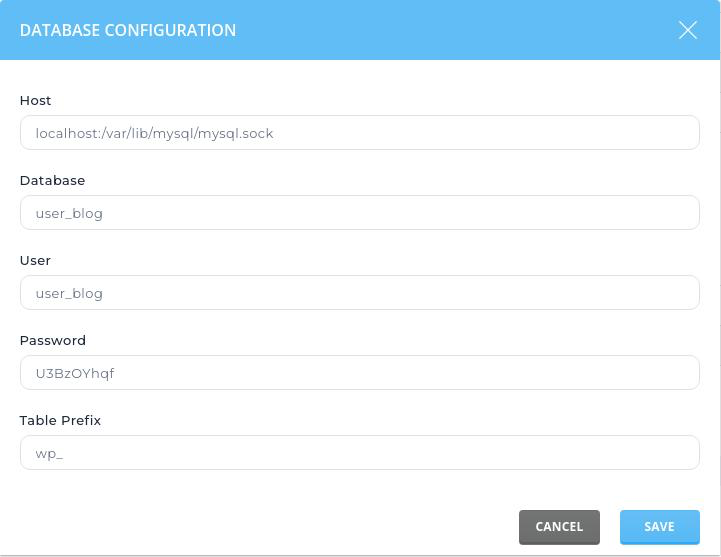
Enter Database Details:
Database Name: Enter the name you created.
Username: Enter the database user.
Password: Enter the database password.
Database Host: Typically localhost (unless your hosting provider specifies otherwise).
Table Prefix: Leave as wp_ or change for security.
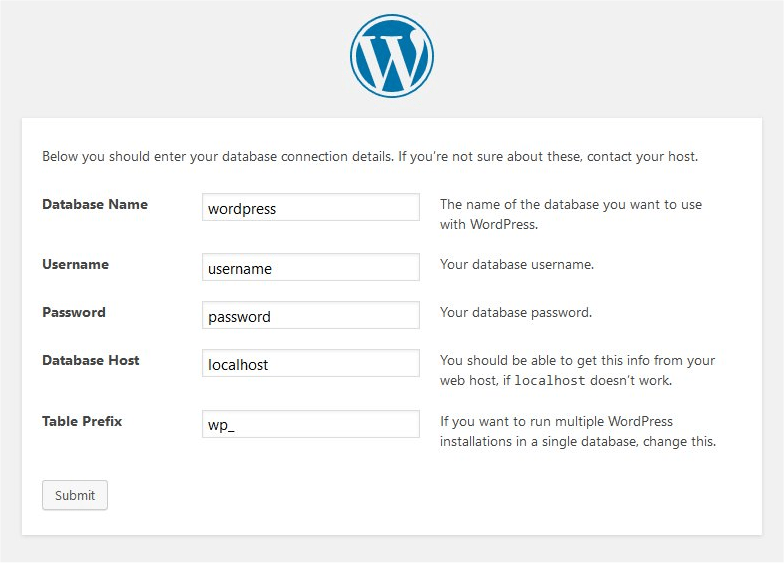
Run the Installation:
Click Submit and follow the setup.
Enter your Site Title, Admin Username, Password, and Email.
Click Install WordPress.
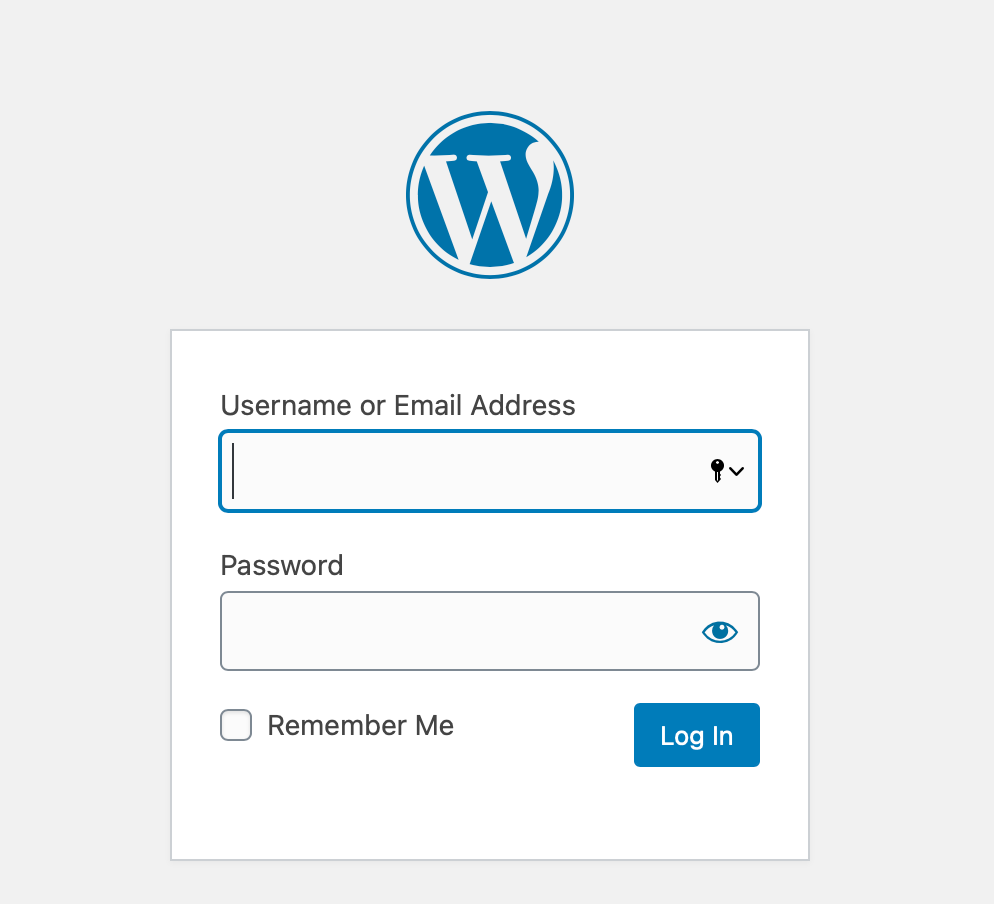
Access Your WordPress Dashboard
Once installed, log in to the admin panel:
Login: Use the username and password you created.
Source: https://learn.wordpress.org/lesson-plan/how-to-install-wordpress-on-a-server/