Fonts Configuration
The Fonts section in the Global Settings tab allows you to add custom fonts to your website. You can upload font files or provide the URL to Google Fonts. This feature ensures that you can personalize the typography of your website to match your brand’s unique style. Additionally, you can specify font weights to offer more flexibility in text styling throughout your site.
Follow these steps to set up custom fonts and add font weights for use across all builder elements.
Access the Fonts Section
Log into your WordPress Admin: Navigate to your WordPress admin dashboard.
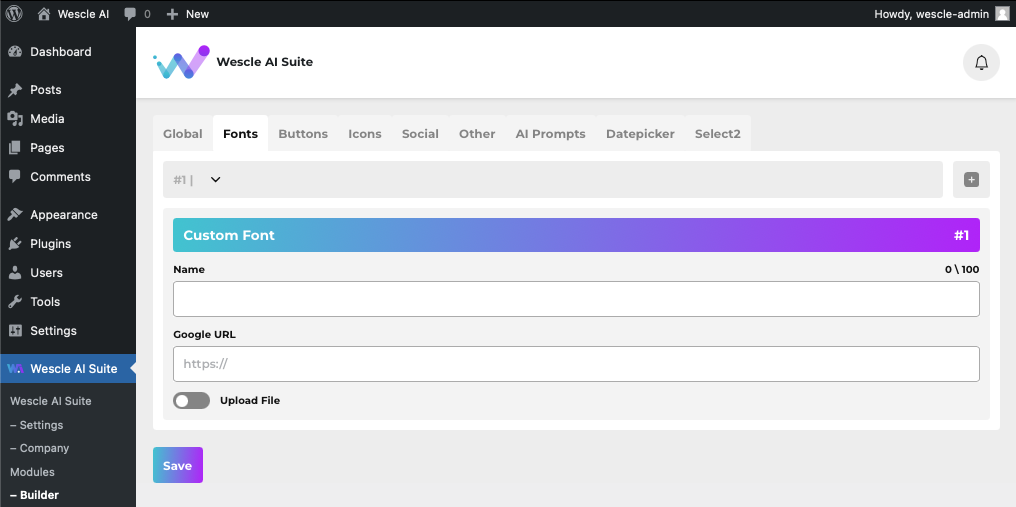
Open Wescle AI Suite Settings: In the left-hand menu, click on Wescle AI Suite > Modules > Builder > Fonts Tab.
Navigate to the Fonts Tab: Once in the settings area, click on the Fonts tab to configure the fonts section.
Add Custom Fonts
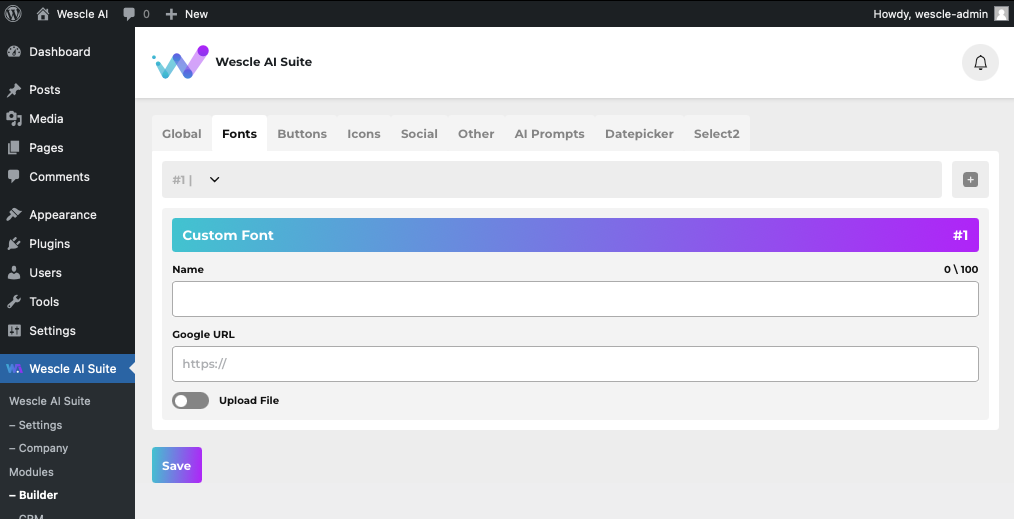
Add Custom Font Name
In the Custom Font section, you will see a text box titled Name.
Enter a unique name for the custom font you want to use (for example, “My Custom Font”).
Add Google Font URL
Below the Name field, you will see a field labeled Google URL.
If you’re using a font from Google Fonts, enter the Google Fonts URL for the font you wish to use (e.g., https://fonts.googleapis.com/css2?family=Roboto:wght@400;700&display=swap).
Upload Font Files (Optional)
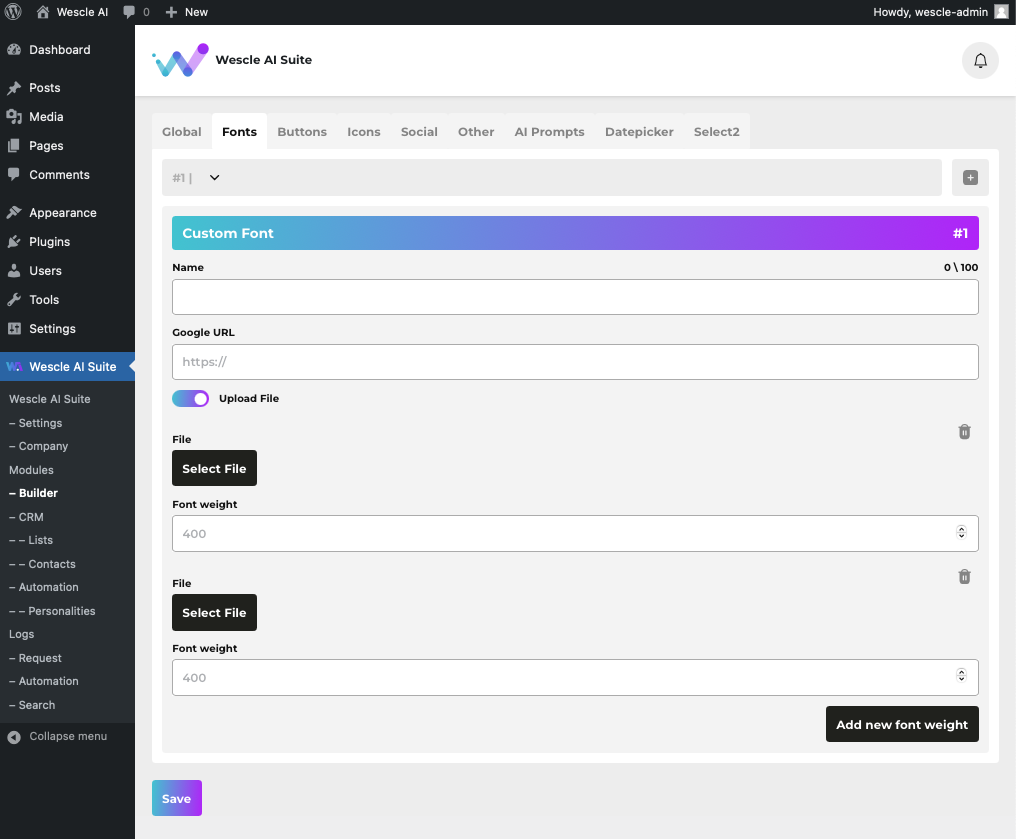
If you have a custom font file (such as TTF or OTF), you can upload the file by clicking Upload File.
Use the Select File button to choose the font file from your computer. You can upload multiple font files (such as regular, bold, etc.).
Each uploaded font will appear in the list below.
Add Font Weights
Set Font Weight:
After uploading a font file, you can select a Font weight for each file. Font weight controls how thick or thin the characters appear (for example, 400 for regular, 700 for bold).
To assign a weight to the font, select it from the Font weight dropdown menu.
Add More Font Weights:
If your font includes different weights (e.g., light, regular, bold, etc.), you can add more weights.
To do this, click the Add new font weight button at the bottom of the section. This will add a new line where you can upload additional font files and set their respective weights.
Apply Fonts Across the Builder
Save Your Changes:
Once you’ve added your fonts and their respective weights, click the Save button at the bottom of the Fonts settings section to save your configuration.
Use Custom Fonts in the Builder:
The fonts you’ve added will now be available to use across all elements in the Wescle AI Suite Builder.
When editing any block or component in the builder, you can select your custom font from the font selection dropdown in the Typography settings for each element (like headings, paragraphs, etc.).
Test Your Fonts
After saving, navigate to your site’s front-end and preview how the fonts are applied across your pages.
Check for consistency and ensure that the font weights are displaying correctly as per your settings.
By following these steps, you can customize your website’s typography with any font you like and manage multiple font weights for added design flexibility. This ensures that your site’s fonts are consistent, unique, and properly styled across all builder elements.