
Setting Up Your First Automation
This guide explains step-by-step how to create and configure your first AI Automation Document within the Wescle AI Suite.
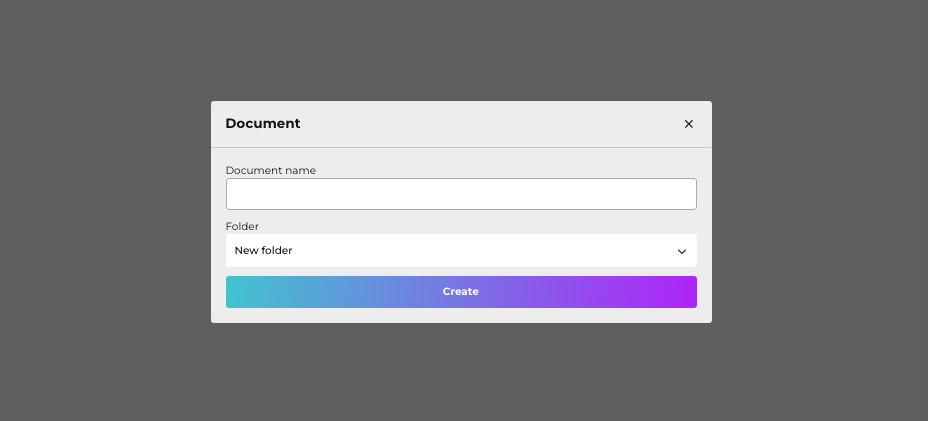
Step 1: Creating a New Document
• Navigate to Automation AI module.
• Click on ”+ Document” button.
• Provide a Document name (for example, Latest AI News).
• Choose a Folder to keep your automation organized.
• Click “Create” to proceed.
Step 2: Adding Tasks to Your Automation
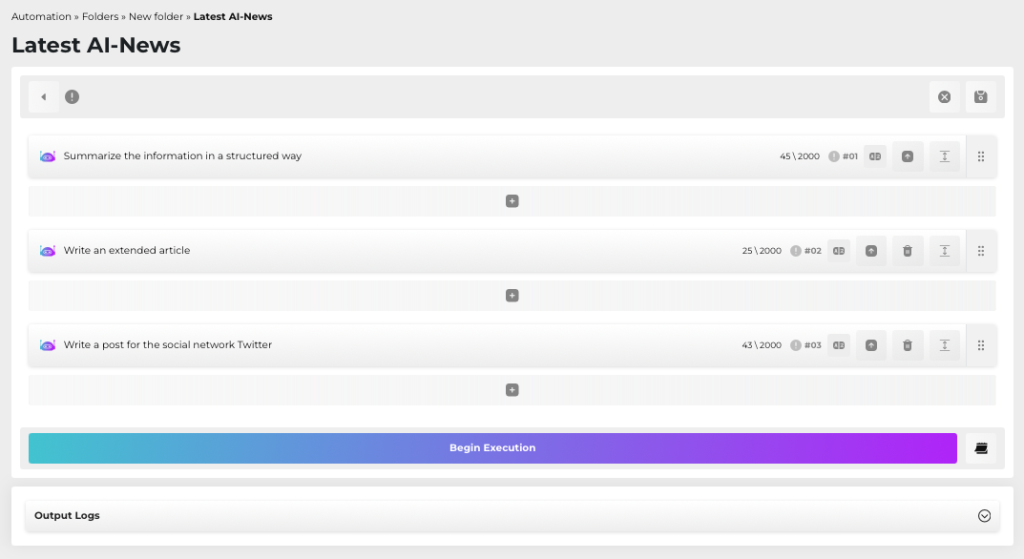
After document creation, you will see a workspace for creating automation tasks.
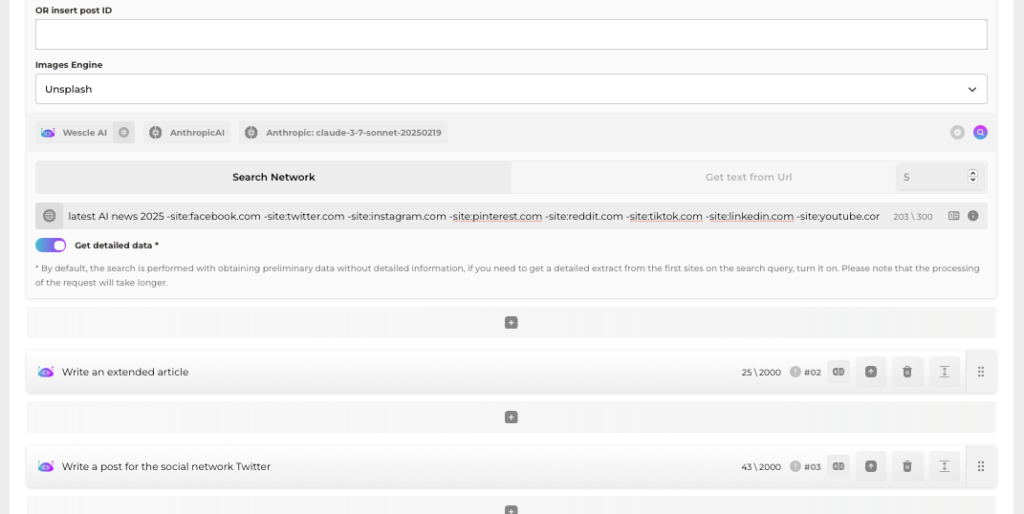
🟢 Task Flow Example:
You can configure tasks so that each task’s output is the input (context) for the next one. For instance:
Task 1: Summarize the information in a structured way
➡️ Task 2: Write an extended article (using output from Task 1)
➡️ Task 3: Write a social media post (using output from Task 2)
You can add unlimited tasks – limited only by your server resources and desired outcomes.
Step 3: Configuring a Task
Each task has a Task Composition that can be filled automatically or manually.
Example: Summarize the information in a structured way
• Click on “Send Request” (icon) to auto-fill task fields using AI.
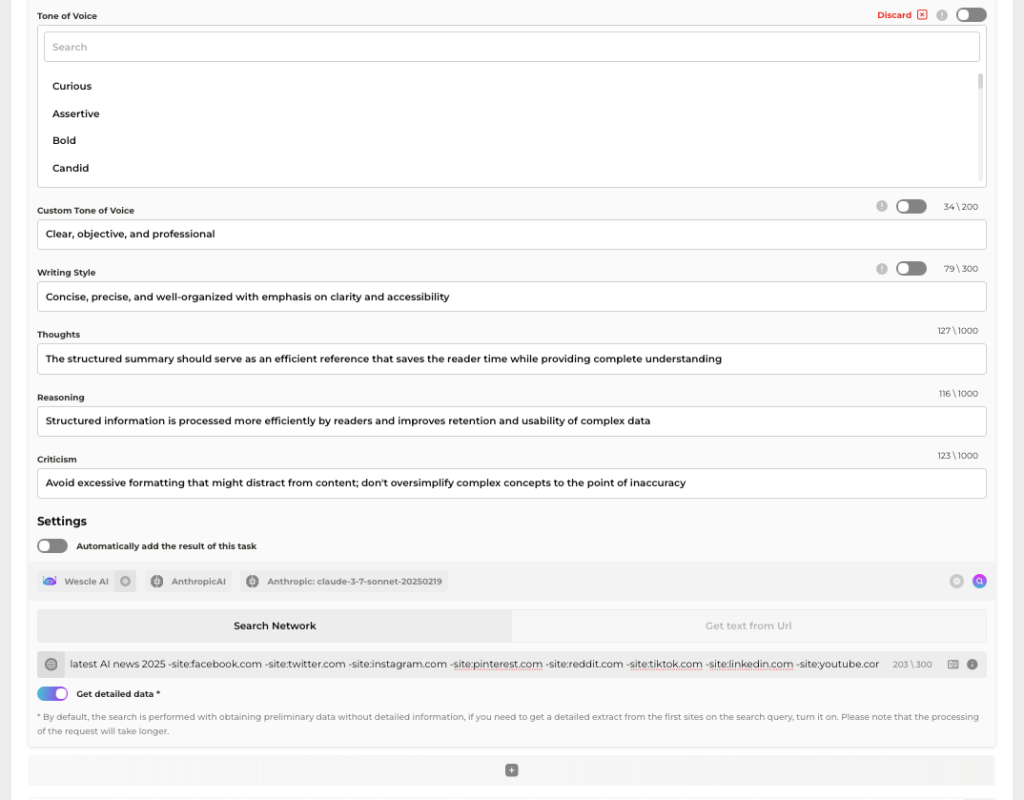
Fields include:
• Simulate Persona: Select an AI personality suitable for your task (like a Professional Information Analyst).
• Task Description: Clearly state the task you want AI to perform.
• Steps to complete task: Break down the task in detail.
• Context/Constraints: Limitations or specifics the AI should adhere to.
• Goal: The intended outcome of the task.
• Format Output: Specify desired output structure.
• Audience & Industry: Define your target audience or industry (optional).
• Tone of Voice: Set the tone (curious, assertive, professional, etc.).
• Custom Tone of Voice: Further refine your tone (optional).
• Writing Style: Concise instructions on style.
• Thoughts, Reasoning, Criticism: Helps AI create nuanced responses.
Step 4: Setting Up Parsing and Search Queries
Under Search Network, you’ll see a default query template to exclude social media platforms:
[Insert Your Keywords] -site:facebook.com -site:twitter.com -site:instagram.com -site:pinterest.com -site:reddit.com -site:tiktok.com -site:linkedin.com -site:youtube.com -site:threads.net -site:threads.com
Replace [Insert Your Keywords] with your actual query, e.g.:
latest AI news 2025 -site:facebook.com -site:twitter.com -site:instagram.com …
Note: Excluding social sites ensures the parsing of standard web content only.
Select the language for your task output if needed.
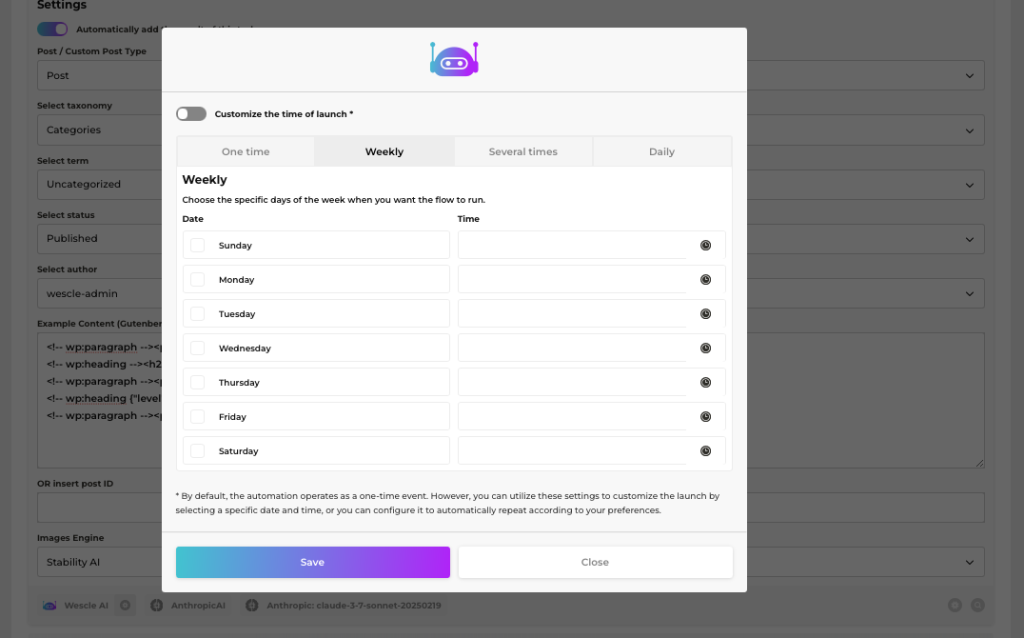
Step 5: Automating Content Publishing to WordPress
In the second task (extended article):
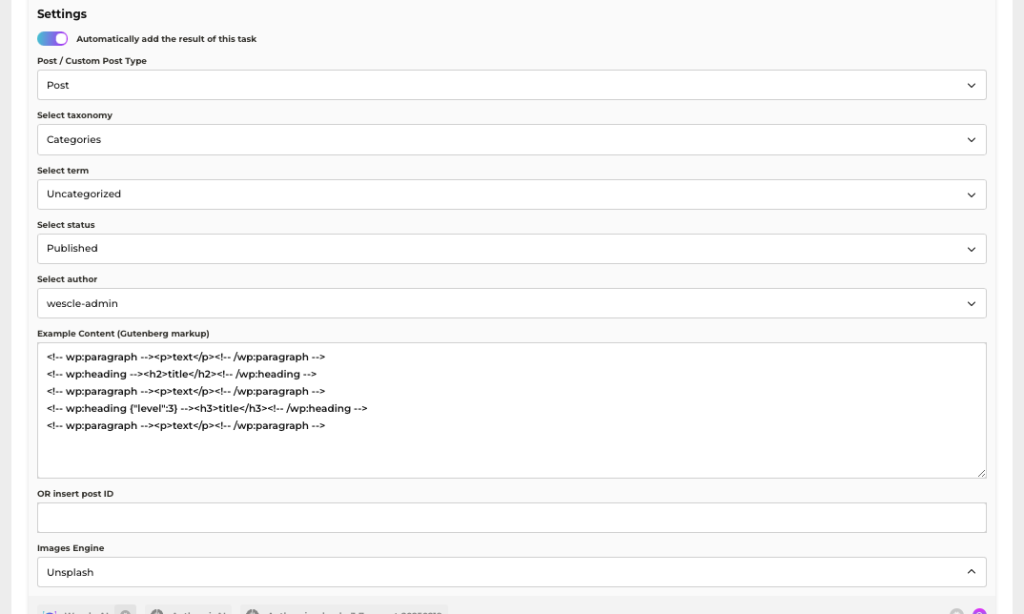
• Enable “Automatically add the result of this task”.
• Configure settings to post directly to your WordPress site:
Post / Custom Post Type: Choose the content type.
Taxonomy and Term: Set category or taxonomy.
Status: Published or Draft.
Author: Set content author.
Example Content (Gutenberg markup): Define content structure clearly, e.g.:
<!-- wp:paragraph --><p>text</p><!-- /wp:paragraph -->

<!-- wp:heading --><h2>title</h2><!-- /wp:heading -->

<!-- wp:paragraph --><p>text</p><!-- /wp:paragraph -->

<!-- wp:heading {"level":3} --><h3>title</h3><!-- /wp:heading -->

<!-- wp:paragraph --><p>text</p><!-- /wp:paragraph -->
Tip: More detailed markup helps structure your article better.
• Optionally, select an Images Engine (Unsplash, StabilityAI, Dall-e) to insert images automatically.
Step 6: Linking Task Results
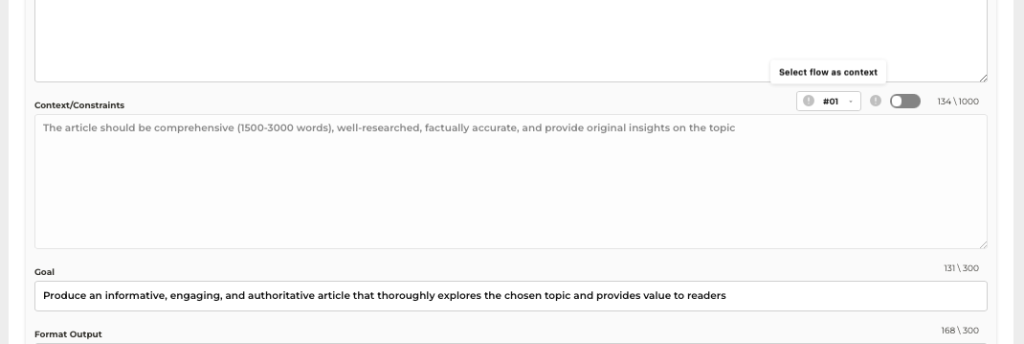
• To chain task results, activate “Select flow as context” and choose the prior task result to use as context for the next task.
Example:
• For Task 2, activate context from Task 1’s structured summary.
• For Task 3, activate context from Task 2’s extended article.
Step 7: Scheduling Automation
Click on “Begin Execution” to test immediately, or schedule your automation:
• One time: Execute once at a specified date/time.
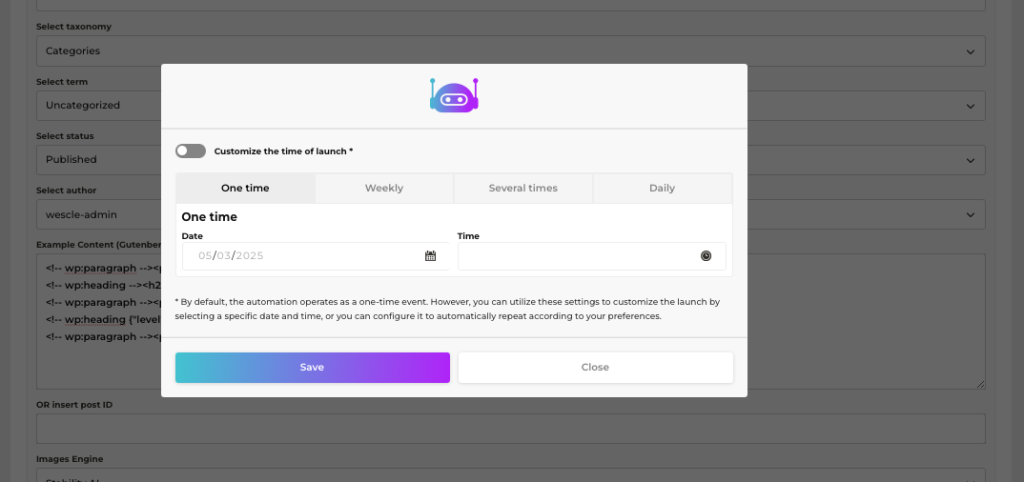
• Weekly: Execute weekly at a specified day/time.
• Several times: Execute multiple times on defined intervals.

• Daily: Execute daily at a specified time.

Step 8: Review Output Logs
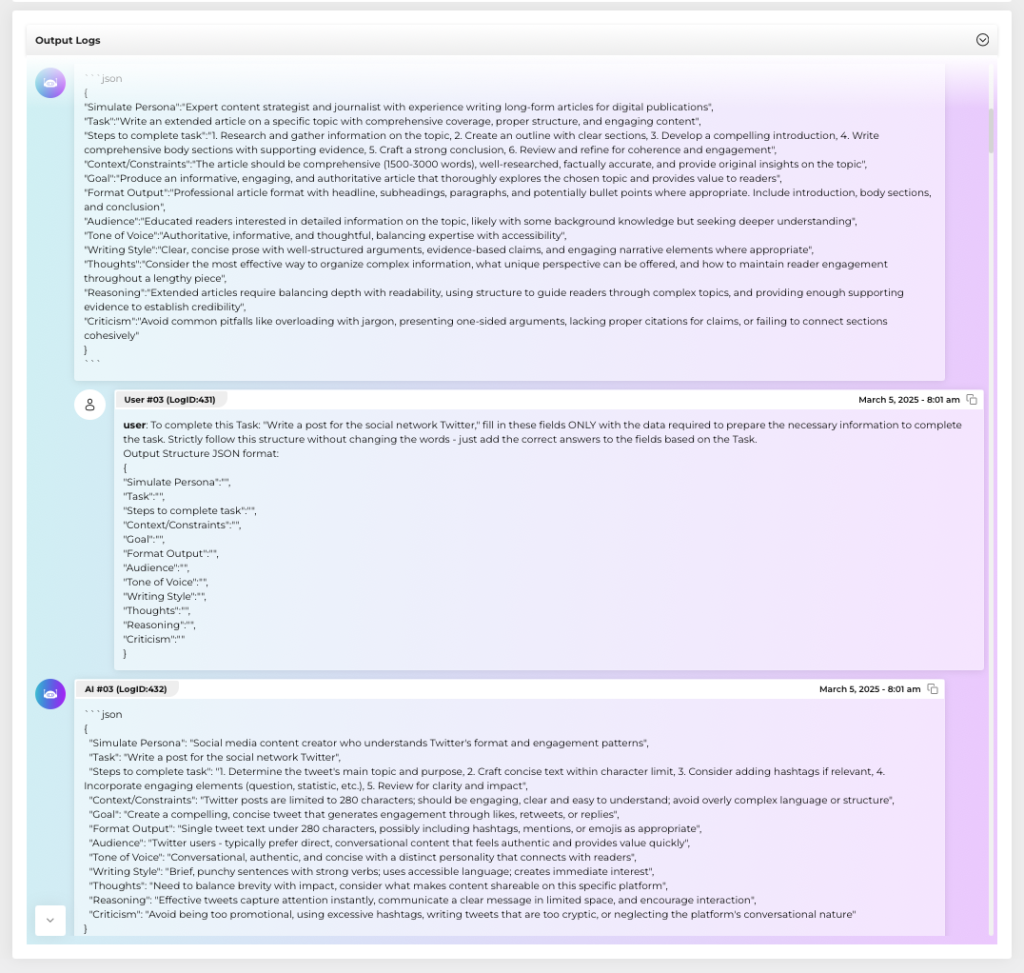
After running an automation:
• Check “Output Logs” for:
• Original request details.
• Parsed data from search engine.
• AI-generated results.
This provides full transparency and traceability of your automation process.🎯 Now you’re set! Your automated workflow is ready to save you hours by handling repetitive content creation and publishing tasks with precision and ease.